A dripping faucet is one of the most common household plumbing problems. A single slow drip can waste more than 10,000 litres of water per year. The good news is that in most cases, the repair requires only basic tools and a replacement part that costs a few hundred yen at any hardware store.
This guide covers the two most common faucet types found in Japanese homes: compression faucets (with separate hot and cold handles) and cartridge faucets (single-handle mixer taps). Read through both sections to identify which type you have before purchasing parts.
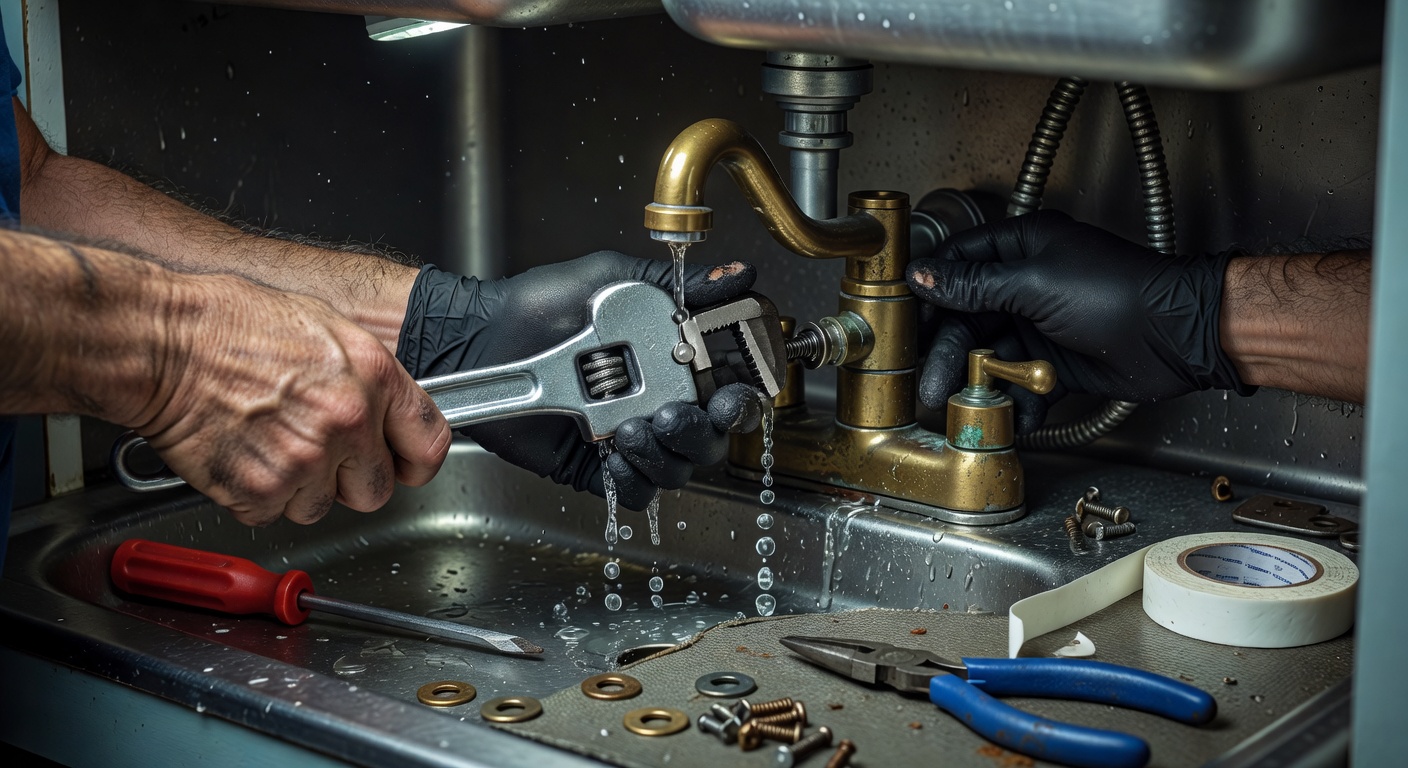
Tools and Materials You Will Need
- Adjustable spanner or basin wrench
- Flat-head and Phillips screwdrivers
- Replacement washer or O-ring (match the size of the existing one)
- Replacement cartridge (for cartridge-type faucets)
- Plumber's grease (silicone-based)
- Cloth or small towel
- Small container or bucket
Before you begin: Turn off the water supply to the affected tap. Look under the sink for the individual isolator valves (small valves on the supply pipes) and turn them clockwise until they stop. If there are no isolator valves, turn off the main stopcock for your home.
Step-by-Step: Fixing a Compression Faucet
Compression faucets have separate hot and cold handles. When you turn the handle, a stem compresses a rubber washer against a seat to stop the water flow. Over time, the washer wears down and causes a drip.
Turn off the water and open the tap
Shut off the supply valves under the sink, then turn the faucet on to release any remaining pressure and drain residual water from the pipes.
Remove the handle
Look for a small decorative cap on top of the handle and prise it off with a flat-head screwdriver. Underneath you will find a screw — remove it, then pull or twist the handle off the stem.
Remove the packing nut and stem
Use an adjustable spanner to unscrew the packing nut (the large hexagonal nut below the handle). Once removed, twist the stem out. You may need to turn it in the same direction as if you were opening the tap.
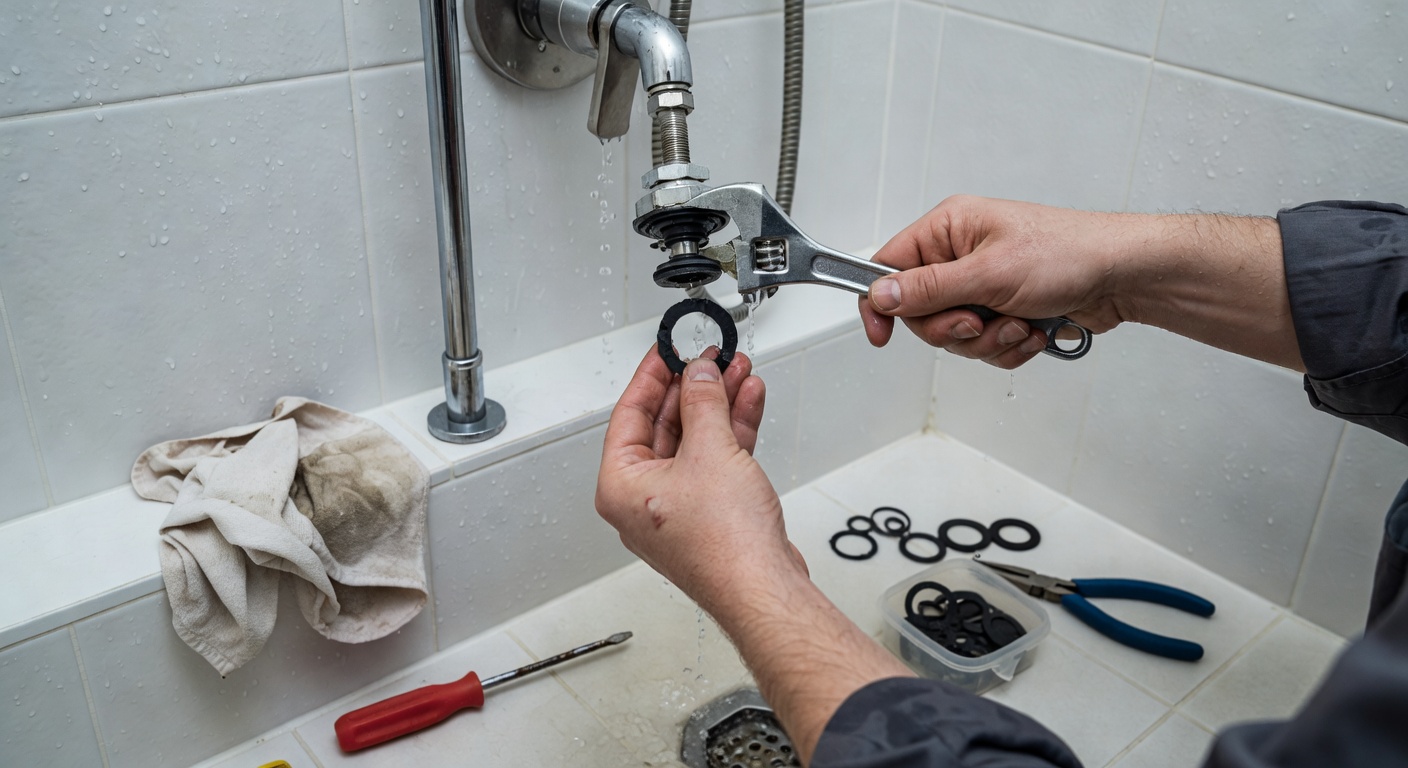
Replace the washer
At the bottom of the stem, you will find a rubber washer held in place by a brass screw. Remove the screw, pull out the old washer, and press the new washer firmly into place. Apply a small amount of plumber's grease. Reinstall the screw.
Reassemble and test
Reinsert the stem, tighten the packing nut, replace the handle and screw, and pop the cap back on. Turn the water supply back on slowly and test the tap. The drip should be gone.
Step-by-Step: Fixing a Cartridge Faucet
Single-handle mixer taps typically use a cartridge — a self-contained unit that controls both flow and temperature. When a cartridge faucet leaks, the cartridge itself usually needs to be replaced rather than repaired.
Shut off the water and prepare
Turn off the isolator valves under the sink. Open the tap handle to release pressure. Place a cloth in the sink basin to catch any small parts that might fall.
Remove the handle
Locate the decorative cap on the handle, remove it, and unscrew the retaining screw underneath. Pull the handle directly upward — it should slide off the cartridge stem.
Remove the retaining clip and cartridge
Many cartridges are secured by a U-shaped metal clip. Use needle-nose pliers to pull it straight up. Then grip the cartridge stem and pull it straight upward to extract the cartridge.
Install the new cartridge
Take the old cartridge to a hardware store to match it exactly, or look up your faucet brand and model number. Insert the new cartridge in the same orientation as the old one, replace the retaining clip, and reassemble the handle.
When to Call a Plumber
Most faucet repairs are well within the ability of a careful DIY homeowner. However, contact a qualified plumber if:
- The faucet seat (the internal metal surface the washer presses against) is scored or cracked
- The leak continues after you have replaced the washer and O-rings
- There is visible corrosion on the supply pipes
- You are working on a gas-connected instant hot water system
Maintenance tip: Every six months, apply a small amount of silicone grease to the O-rings and packing inside your faucets. This extends their lifespan significantly and prevents the rubber from drying out and cracking.