Conventional cleaning products often contain a mix of synthetic surfactants, artificial fragrances, preservatives, and strong chemical agents that work effectively but come with trade-offs: they can irritate skin and airways, they may be harmful to aquatic life when they enter the water system, and their packaging often contributes to plastic waste. Eco-friendly cleaning is not about sacrificing effectiveness — it is about understanding which ingredients work, why they work, and how to use them correctly so that your home is both clean and a safer environment for everyone in it.
The Five Core Natural Cleaning Ingredients
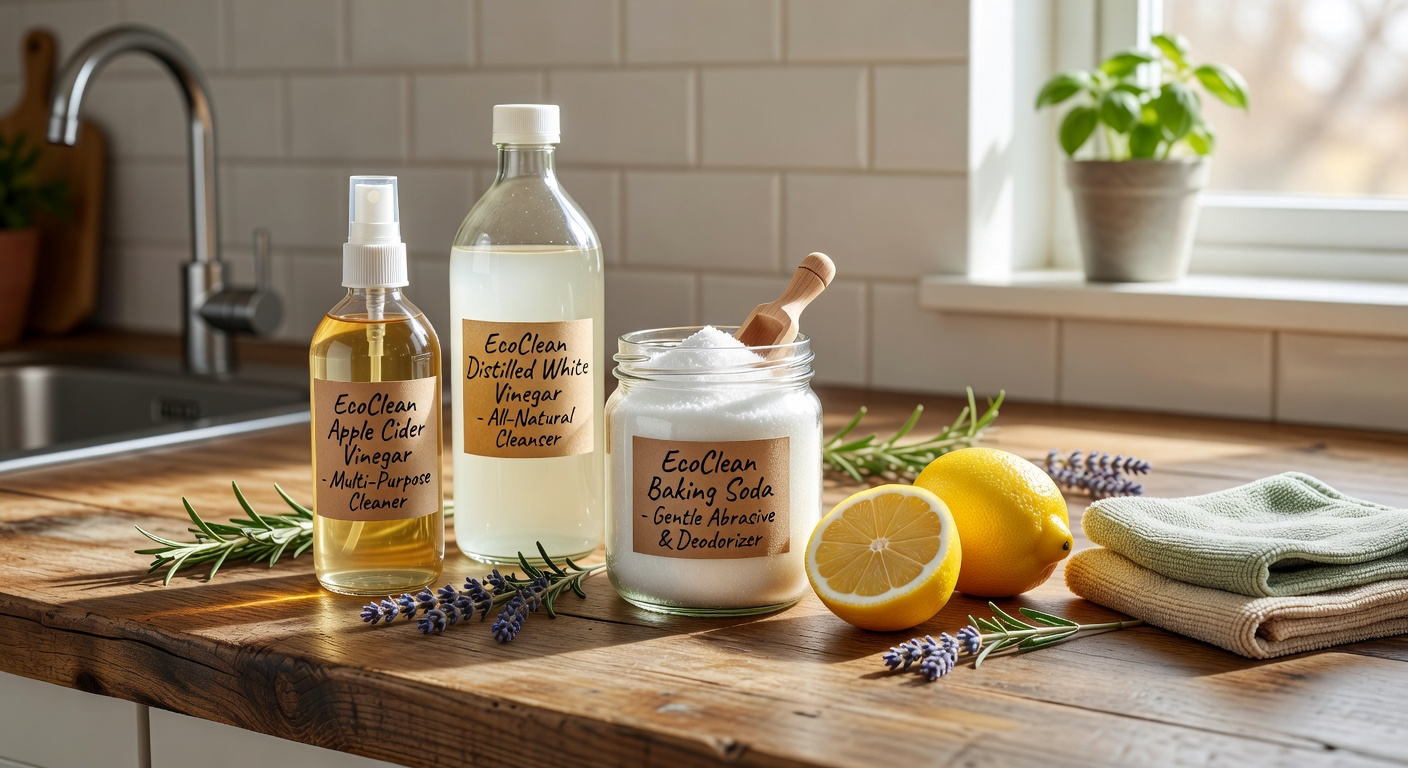
A well-stocked natural cleaning kit requires only five core ingredients. These cover the vast majority of household cleaning tasks when used correctly, either individually or in combination.
- White vinegar — A mild acid (acetic acid) that dissolves mineral deposits, cuts through soap scum, deodorises, and inhibits mould and bacteria. Use undiluted for heavy descaling; diluted 1:1 with water for general surface cleaning.
- Baking soda (bicarbonate of soda) — A mild alkali and gentle abrasive. Neutralises odours, lifts grease when combined with a liquid, and works well as a scouring powder on sinks and baths without scratching most surfaces.
- Castile soap — A plant-based, biodegradable soap made from vegetable oils (traditionally olive oil, now often coconut or hemp). It produces a good lather, cleans effectively, and is safe for most surfaces, skin, and the drain.
- Lemon juice — Another mild acid, similar in action to vinegar but with a more pleasant natural scent. Effective on limescale, rust stains, and as a deodoriser. Can be used fresh or bottled.
- Essential oils (especially tea tree oil) — Tea tree oil (Melaleuca alternifolia) has documented antimicrobial and antifungal properties. A small amount added to cleaning solutions adds genuine cleaning efficacy as well as a fresh scent. Lavender and eucalyptus oils also have mild antimicrobial properties.
How to Make a Multi-Surface Cleaning Spray
All-Purpose Multi-Surface Spray — Recipe
- 1 part white vinegar
- 1 part water
- 10 drops of tea tree essential oil
- Optional: 5 drops of lavender or lemon essential oil for fragrance
Combine in a clean, labelled spray bottle. Shake gently before each use. Safe for use on most hard surfaces including kitchen counters, tiles, appliance exteriors, and bathroom fittings. Do not use on natural stone surfaces (marble, granite) as the acid can etch the surface — use a pH-neutral cleaner instead. Store out of direct sunlight. Use within 3 months.
Six Steps for Eco-Friendly Cleaning Throughout the Home
-
1Switch Your All-Purpose Spray Replace your conventional multi-surface spray with the recipe above. This one change eliminates one of the most frequently used commercial chemical products in the home and is effective for daily surface wiping in kitchens and bathrooms. Make a fresh bottle every few weeks and label it clearly with the contents and date made.
-
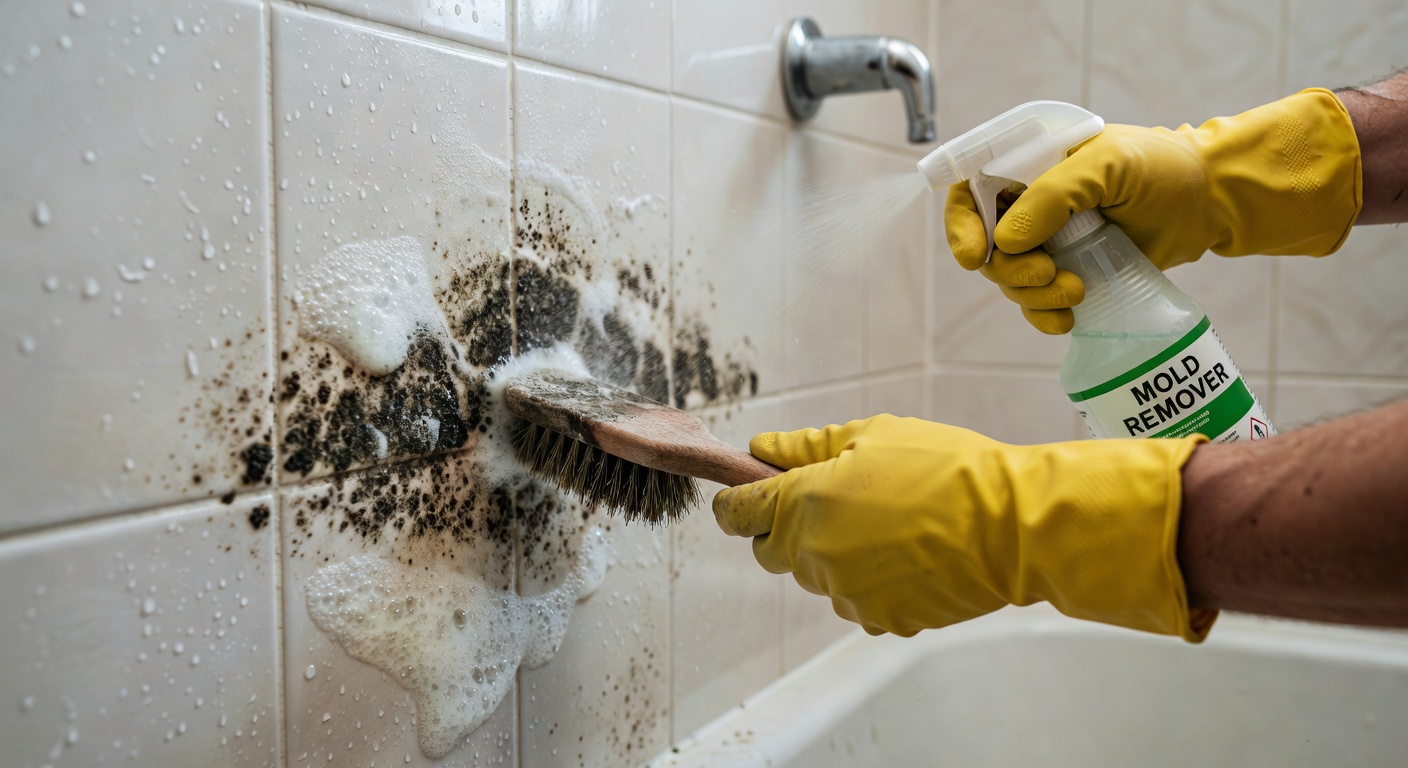
2Clean and Prevent Mold on Tiles and Grout Hydrogen peroxide (3% solution, available at pharmacies) is an effective, low-toxicity alternative to bleach for treating mould on tiles and grout. Spray undiluted 3% hydrogen peroxide directly onto mouldy areas and leave for 10 minutes before scrubbing with a grout brush and rinsing. Hydrogen peroxide breaks down into water and oxygen, leaving no harmful residue. For prevention, improve ventilation: run the exhaust fan during and after showers, wipe down tiles and the shower screen after each use, and leave the shower door or curtain open to allow air circulation and drying.
-
3Replace Synthetic Floor and Surface Cleaners For hard floors, a few drops of castile soap in a bucket of warm water provides effective cleaning without leaving a synthetic residue. For wood floors, use a very dilute solution — just a few drops per litre — and wring the mop well so that the floor is barely damp. For kitchen surfaces, the vinegar-water spray works well on most materials. For stainless steel, a little olive oil on a cloth buffed in the direction of the grain not only cleans but leaves a protective finish.
-
4Avoid Chlorine Bleach in Enclosed Spaces Sodium hypochlorite (household bleach) is highly effective at killing bacteria, viruses, and mould, but it releases chlorine gas and other volatile compounds when used in poorly ventilated areas — particularly small bathrooms and kitchens. Repeated exposure can irritate the lungs and airways. For most domestic cleaning tasks, hydrogen peroxide or a tea-tree-oil-based spray is sufficient. Where bleach is genuinely necessary (for example, after a sewage leak), ensure maximum ventilation — open all windows and run the exhaust fan — and wear gloves and eye protection.
-
5Read Product Labels — What Terms Actually Mean "Biodegradable" means that the product will break down into natural substances over time — but this term is not regulated and gives no indication of how long breakdown takes or whether intermediate breakdown products are harmful. "Plant-based" means the ingredients are derived from plants, but plant-derived ingredients can still be processed into forms that are harmful to aquatic life. "Non-toxic" has no regulatory definition in most markets. Look instead for specific certifications (EU Ecolabel, EPA Safer Choice in the US, or equivalent) which have defined criteria, or choose products where the full ingredient list is disclosed. This transparency is the most reliable indicator of a genuinely eco-conscious product.
-
6Eco Product Storage Tips Store all natural cleaning solutions in clearly labelled glass or recycled HDPE plastic bottles away from heat and direct sunlight. Do not mix ingredients in advance unless you will use them promptly — baking soda and vinegar react immediately and the CO₂ gas produced means a mixture cannot be stored in a sealed container. Keep essential oils out of reach of children and pets. Clearly label all homemade solutions with the contents and the date made, and dispose of any solution that smells off or has separated without attempting to use it.
Removing and Preventing Tile Mould — A Closer Look
Mould on bathroom tiles and grout is one of the most common household complaints, particularly in climates or apartments where ventilation is limited. Mould is a fungus that grows wherever there is moisture, organic material (soap scum and dead skin cells count), and limited air movement. Bathrooms provide all three in abundance.
The hydrogen peroxide treatment described above is effective for existing mould colonies. For a particularly entrenched mould problem, repeat the treatment on three consecutive days. After the mould is cleared, the most important step is prevention through ventilation — not any cleaning product, however effective. A bathroom that dries out between uses will rarely develop significant mould even without regular cleaning.
If mould has penetrated deeply into the grout and cannot be scrubbed out, consider re-grouting the affected section — this is a moderately straightforward DIY task and removes the mould entirely rather than treating the surface only.
After every shower, spend 30 seconds squeegeeing water from the tiles and screen. This single habit dramatically reduces mould growth because it removes the moisture that mould needs to develop. Run the exhaust fan during and for 15 minutes after every shower. If possible, leave an interior window slightly open. Seal grout lines with a grout sealer every 12–18 months — this closes the microscopic pores in the grout that would otherwise trap moisture and organic material.