Floors and air vents are two of the most overlooked areas in a home deep clean — and two of the most significant for indoor air quality. Carpets trap dust, allergens, pet dander, bacteria, and odours deep within their fibres, well beyond the reach of a regular vacuum pass. Air vents and ductwork accumulate dust that is then recirculated through the home with every heating or cooling cycle. Addressing both thoroughly, a few times per year, meaningfully improves the cleanliness and air quality of any home.
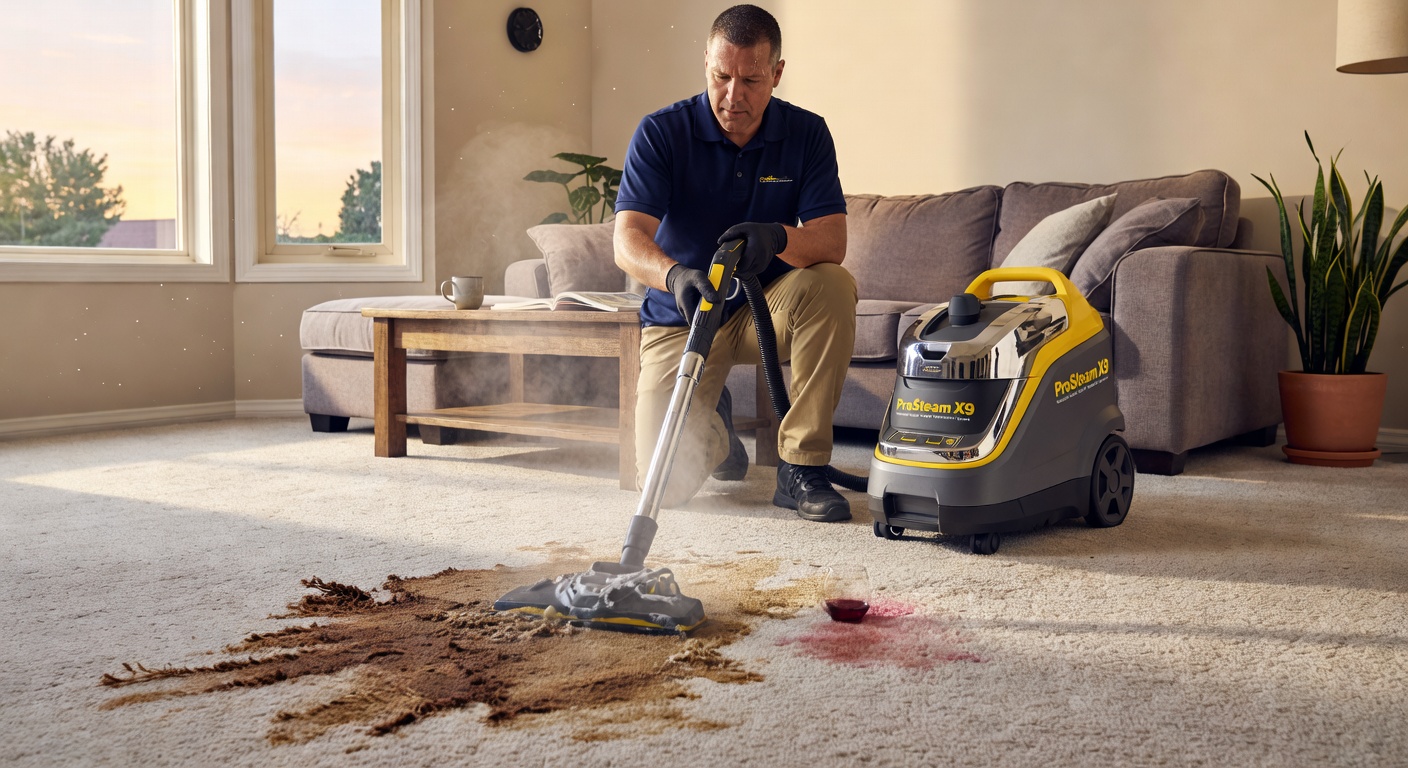
Carpet Deep Cleaning
Even a carpet that is vacuumed regularly benefits from a more intensive treatment several times a year. Vacuuming removes surface-level dust and debris but does not address embedded dirt, bacteria, or odours that have worked their way deep into the carpet fibres over time. The following steps cover a thorough home carpet deep clean without specialist equipment.
-
1Vacuum Thoroughly First Before any other treatment, vacuum the carpet meticulously. Use slow, overlapping passes — moving too quickly allows the suction to pick up only the top layer of debris. Vacuum in multiple directions (north-south, then east-west) to lift fibres and extract debris trapped at different angles. Move furniture where possible to reach the carpet beneath. Use a crevice tool along skirting boards and room edges, and a brush attachment for any upholstered furniture you are also cleaning.
-
2Baking Soda Deodorising Method Sprinkle a generous layer of baking soda over the entire carpet surface. For a scented version, mix a few drops of essential oil (lavender or eucalyptus) into the baking soda before sprinkling. Work the baking soda into the carpet fibres gently with a stiff brush or a broom. Leave for at least 20 minutes — or up to several hours for a carpet with persistent odours. Then vacuum again thoroughly. The baking soda absorbs odours by neutralising the acidic and alkaline compounds that cause smells, and the second vacuuming removes both the baking soda and the absorbed odour compounds.
-
3Spot Treatment for Stains For localised stains, the most important rule is to act quickly — fresh stains are far easier to remove than dried, set-in stains. Blot (do not rub) as much of the stain as possible with a clean, dry cloth. Then apply a solution of one teaspoon of dish soap mixed with one cup of warm water. Work this into the stain with a clean cloth, blotting rather than rubbing. Work from the outside edge of the stain inward to prevent it spreading. Rinse by blotting with clean cold water, then blot dry with a dry cloth. For tougher stains (red wine, coffee, ink), a mixture of one tablespoon of white vinegar, one tablespoon of dish soap, and two cups of warm water works well as a first treatment.
-
4Treating High-Traffic Areas Carpet in high-traffic areas (hallways, in front of sofas, in front of kitchen doorways) tends to accumulate a compressed, grey layer of embedded dirt that regular vacuuming cannot fully address. For these areas, dampen the carpet slightly with a spray bottle of water, apply a carpet shampoo or a diluted solution of dish soap, and work it gently into the pile with a soft brush. Allow to sit for 5 minutes, then blot with clean cloths to extract the loosened dirt. Allow to dry completely — this is important, as damp carpet develops mould and musty smells. Open windows or use a fan to speed drying.
-
5When to Hire a Steam Cleaner For a genuinely deep clean of carpets — particularly in homes with pets, allergies, or carpets that have not been professionally cleaned in several years — hiring a steam cleaner (hot water extraction machine) produces results that are significantly better than any dry or manual method. These machines inject hot water and detergent deep into the carpet fibres, then extract the water along with the dissolved dirt. Most hire shops offer these machines by the day at a reasonable cost. Follow the machine's instructions carefully, and ensure the carpet is allowed to dry completely before replacing furniture.
Hardwood and Tile Floor Deep Cleaning
Hard floors require a different approach from carpets. The key principles are: always sweep or vacuum before mopping, use the right cleaner for the floor type, and avoid over-wetting the floor.
For hardwood floors, use a pH-neutral floor cleaner diluted according to the product instructions. Apply with a well-wrung mop — the floor should be barely damp, not wet. Excess water causes wood to swell, warp, and eventually delaminate. Mop in the direction of the wood grain. For tile floors, a slightly wetter mop is acceptable, but ensure adequate ventilation to allow the floor to dry promptly. Use a pH-neutral cleaner for natural stone tiles (marble, travertine); avoid acid-based cleaners which can etch the surface. For porcelain and ceramic tiles, a diluted all-purpose cleaner or a white vinegar solution works effectively.
For grout lines on tile floors, apply a baking soda and water paste, scrub with a stiff grout brush, and rinse. Sealing the grout after cleaning significantly reduces future staining and simplifies maintenance.
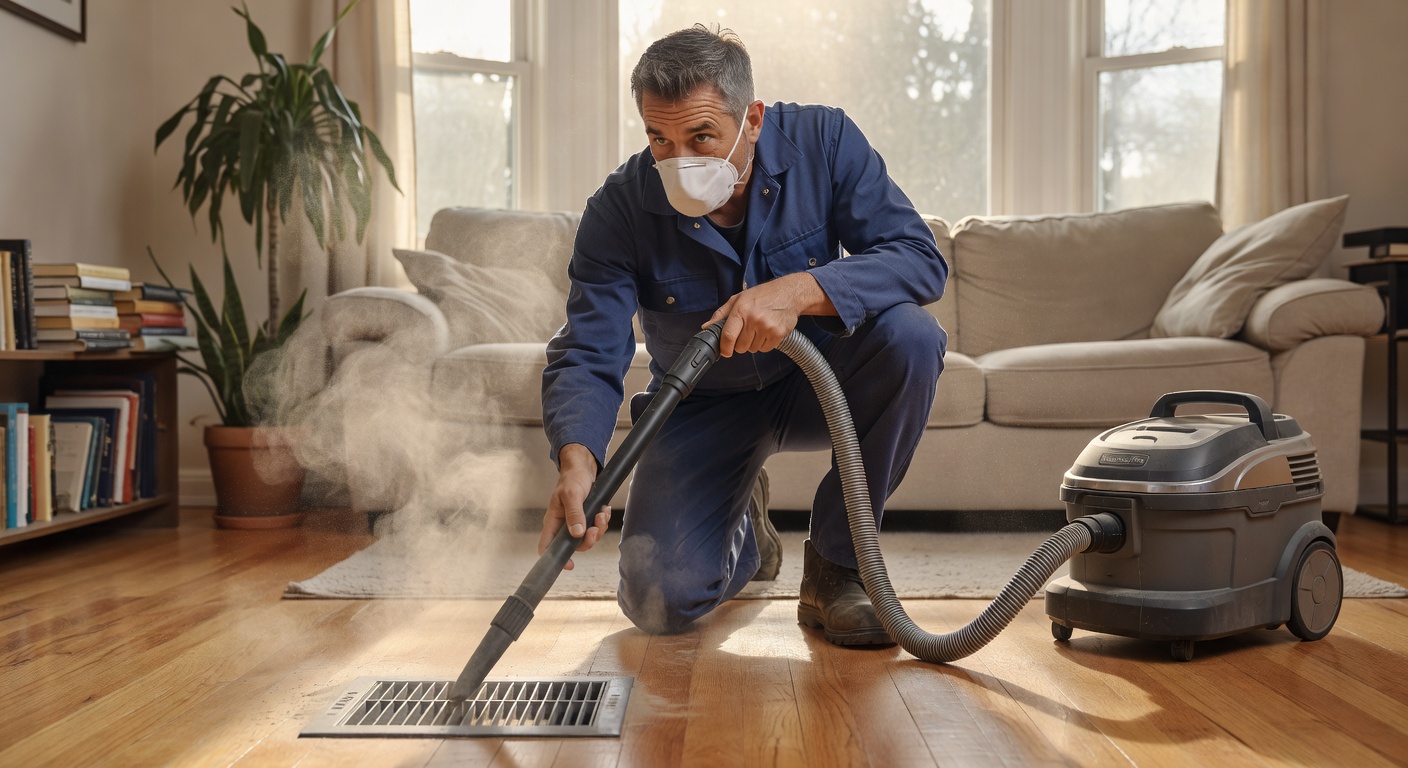
Air Vent Cleaning
Air vents (also called grilles, registers, or diffusers) cover the openings to the heating, ventilation, and air conditioning (HVAC) ductwork throughout a home. Dust accumulates on the vent blades and inside the duct opening behind them. When air flows through a dusty vent, it carries those dust particles into the room — reducing air quality and potentially worsening allergy and asthma symptoms.
-
1Remove the Vent Covers Most vent covers (grilles) are held in place by two screws on the face of the grille, or they simply press into position and can be pulled free. Remove the screws and set them aside safely. Lift the vent cover away from the wall or ceiling. If the cover has not been removed in some time, it may have a border of built-up paint — work carefully with a flat-head screwdriver to break the paint seal before pulling.
-
2Wash in Warm Soapy Water Take the removed vent covers to a sink or bathtub and wash them in warm water with a small amount of dish soap. Use a soft brush to remove dust from between the fins or blades of the grille. Rinse and allow to dry completely before replacing — a wet grille replaced on the wall will collect dust more rapidly than a dry one.
-
3Vacuum the Duct Opening With the vent cover removed, use the crevice tool or brush attachment of your vacuum cleaner to reach into the duct opening and extract as much visible dust and debris as possible. You can typically reach 20–30cm into the duct with a vacuum hose. This removes the loose dust that would otherwise be blown into the room. Do not attempt to clean further into the ductwork yourself — professional duct cleaning requires specialist equipment and is recommended every 3–5 years for most homes.
-
4Wipe Vent Blades and Surrounding Area Use a damp microfibre cloth to wipe the blades and inner edges of the vent opening. Wipe the area of wall or ceiling immediately around the vent opening, which typically has a visible grey dust shadow. For ceiling vents in rooms with high humidity, also check for any signs of mould around the vent edge — if present, wipe with a diluted white vinegar solution and ensure the vent is operating correctly.
-
5Check and Replace Air Filters If your home has a central HVAC system, locate the main air filter (usually in the air handler unit or in a return air grille). Check the filter according to the manufacturer's recommendations — typically every 1–3 months. Hold the filter up to a light; if you cannot see light through it, it needs replacing. A dirty air filter restricts airflow, reduces the efficiency of the heating or cooling system, and allows more dust to be distributed through the home. Replace with a filter of the correct size and the appropriate filtration rating (MERV rating) for your system.
If residents experience increased allergy symptoms, more frequent respiratory irritation, or you notice visible dust settling rapidly on surfaces shortly after cleaning, the air vents and filter are likely due for attention. Dusty vents can also cause uneven heating or cooling — some rooms feeling significantly warmer or cooler than others — because restricted airflow means the system cannot distribute conditioned air evenly. Visible dust rings or staining around vent openings are a clear sign that cleaning is overdue.